
Hi Creative Friends,
Let’s have some fun with a few new goodies from the brand new Pretty Pink Posh release. We used the cute, cute, cute Stocking Shaker die and the Layered Candy Cane stencil to brighten the background. Check out how all the rest came together below!
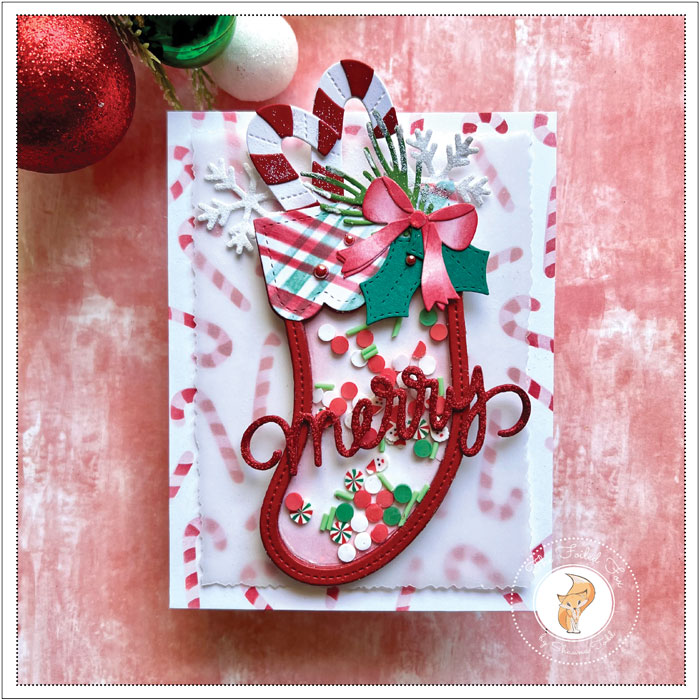
As usual, we started with the foundation by stenciling candy canes onto a piece of white cardstock. We first used Worn Lipstick distress ink. Then, for the second stencil, used Lumberjack Plaid distress ink. This panel was then mounted on the front of an A2 white card base. We added one more layer by trimming a piece of crisp, stout vellum.
With the basics done, we moved on to the stocking shaker. We cut a bunch of peppermint red stockings so we could stack and glue them together, eliminating the need for foam tape. We also cut one white cardstock stocking.
While we were doing all this stacking and gluing, we also glued a piece of acetate to the back of one peppermint red stocking outline. This one will be the top stocking outline so it will hold in all the cute shaker elements!
For the white cardstock stocking, we trimmed off the top and stenciled on a plaid pattern using the Papertrey Ink Show Your Stripes stencil. We used Lumberjack Plaid and Evergreen Bough distress ink and a blending brush. Of course, you can always use a piece of plaid patterned paper. We just didn’t have one the colors we needed so we made our own!
At the same time, we lightly blended on a little Lumberjack Plaid to the interior piece of the stocking. This will serve as our backing.
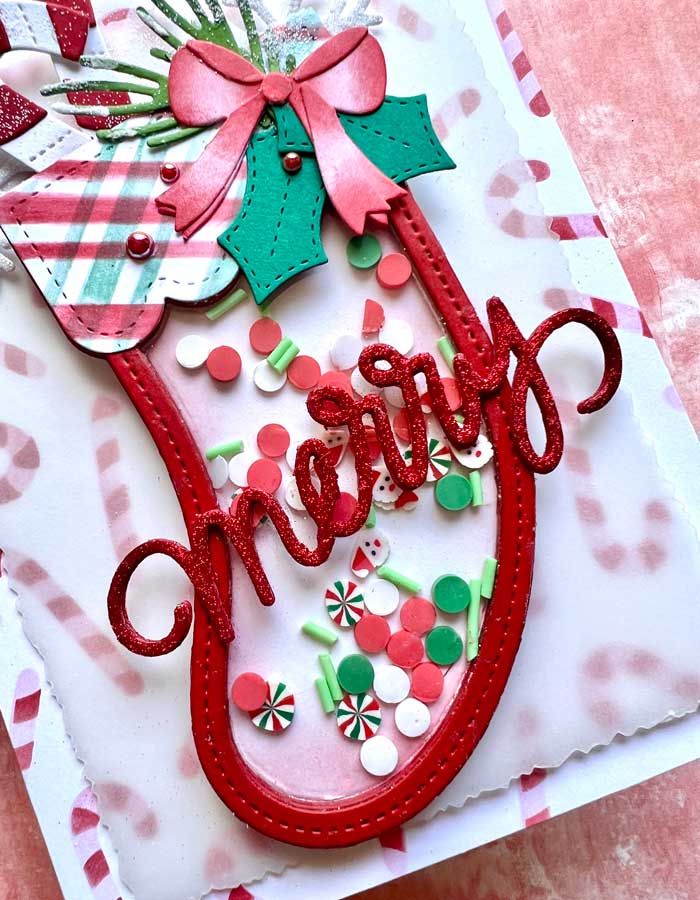
We piled Jolly Santa shaker elements in the middle of the white stocking, then added glue to the underside of the stacked red stocking outlines. Remember, the top stocking outline should have acetate to hold the elements.
With the shaker done, we got busy making our decorations to the stocking. We made two candy canes and snowflakes using the Pretty Pink Posh Winter Mug. For the holly and foliage, we used Winter Foilage, another die set from Pretty Pink Posh.
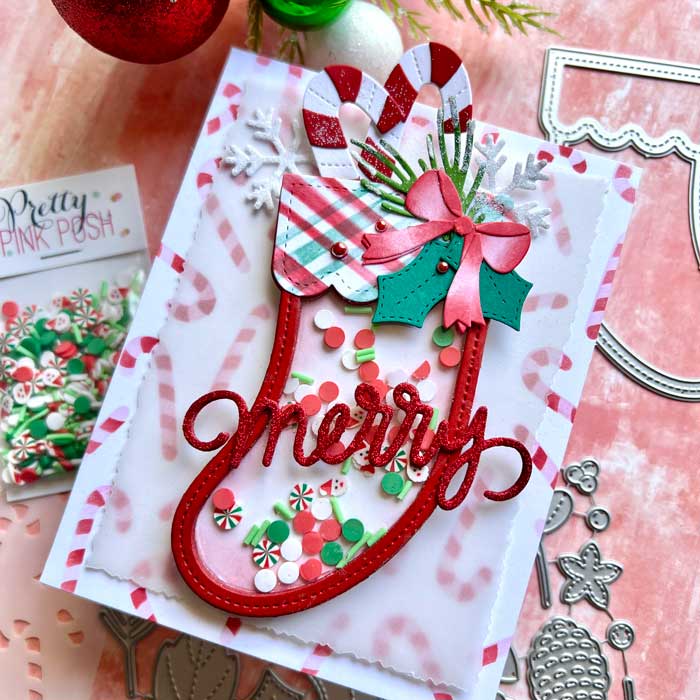
Finally, we cut out the word merry from the new word die by Pretty Pink Posh. We cut out two peppermint red cardstock ones and one red glitter one, then stacked and glued them together.
All that was left was to mount the stocking to our card front, then do a little decorating with the pieces we had previously cut. To finish, merry was added. and a few red pearls for a little pizazz! ♥
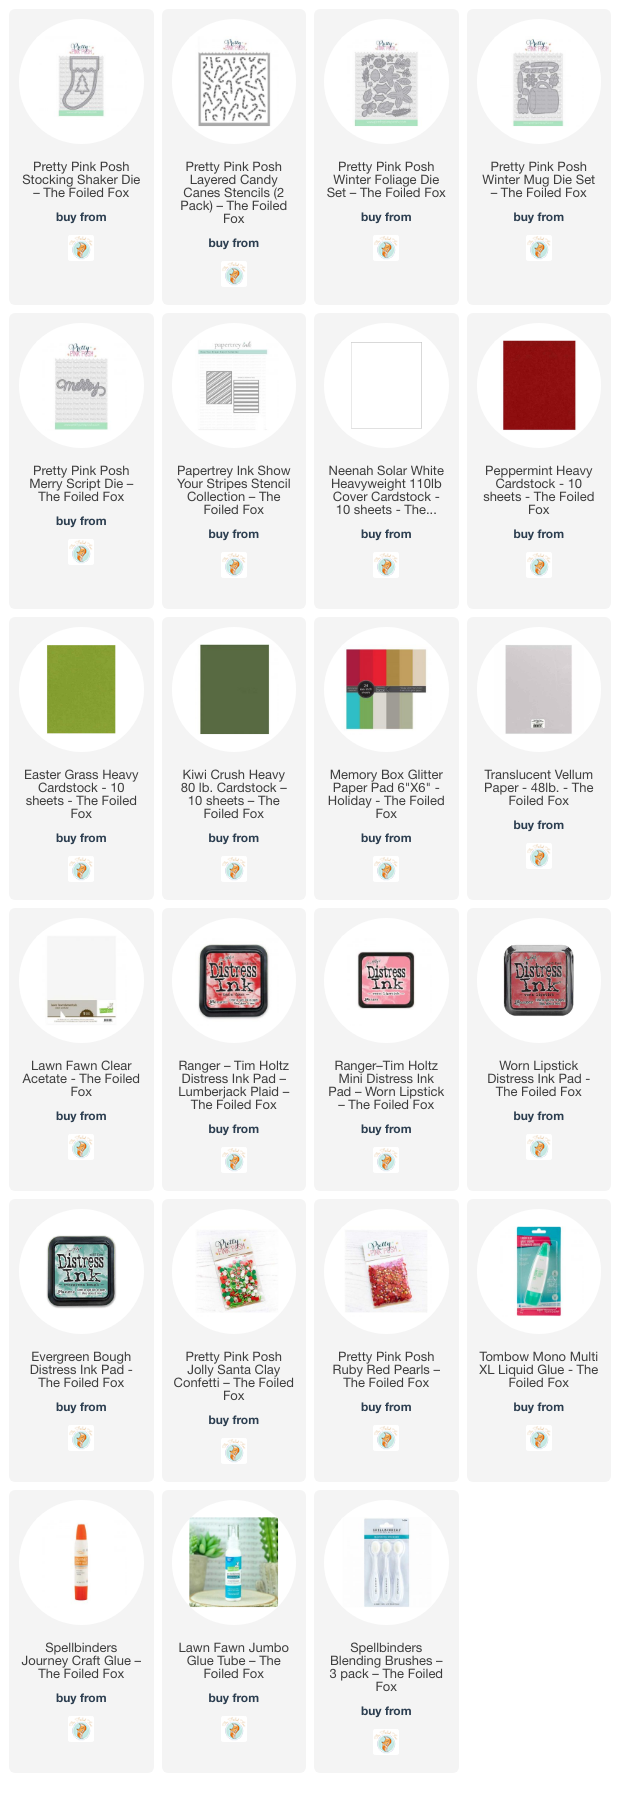
Goodies Used:

Oh I love this!
Thanks Amy!