Hi Creative Friends,
I am loving all ways you can use the new ‘YOU‘ die from Penny Black. It is a fantastic die to have in your stash!
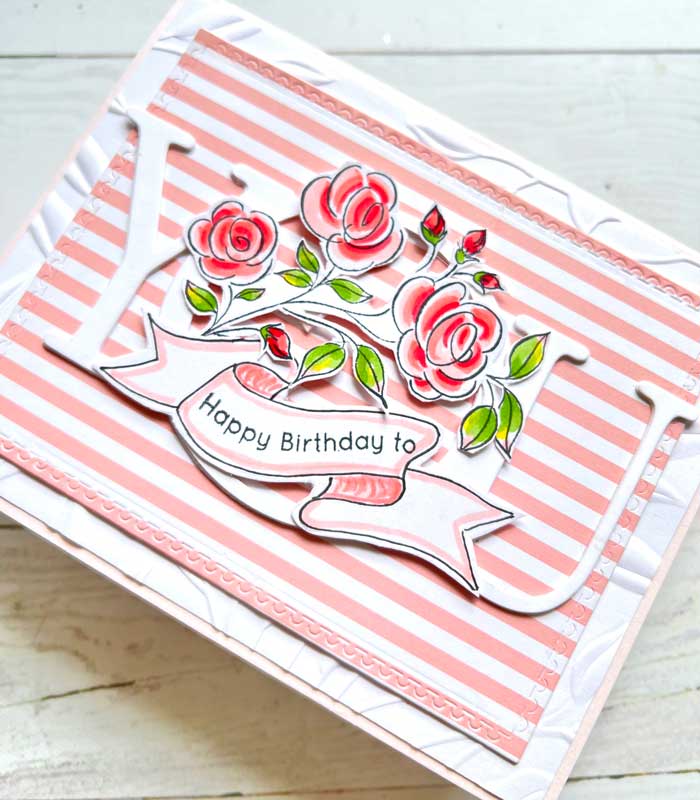
So, with that in mind, here is another card design using this die, along with sweet, French-style flowers from the Flower Medley stamp set by Penny Black and one of my favorite elements, a sentiment banner. I am always so enamored by banners; they are so easy to draw too! Give them a whirl!
But, if you are feeling a little intimidated by drawing a banner yourself, I have included a copy of the one I drew for this card. You can access it here or at the bottom of this post.
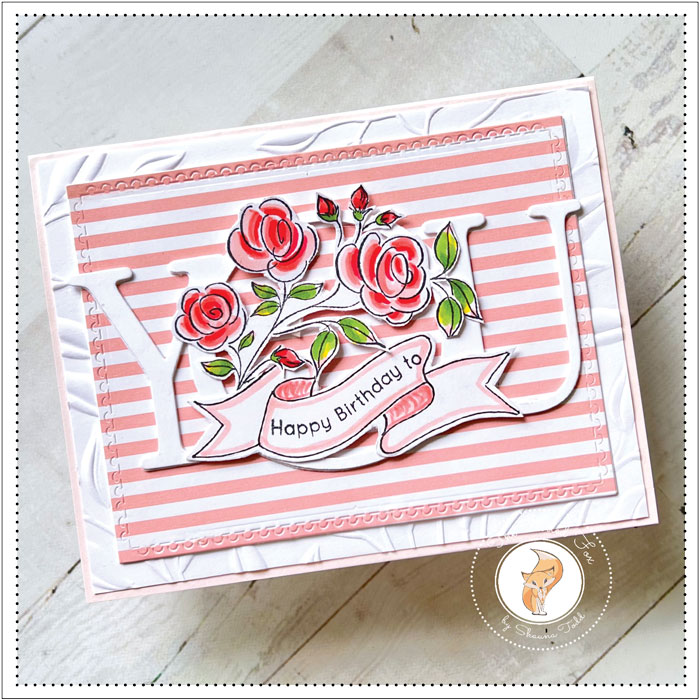
I am starting today with the base layers and working my way up so I made a Rose Quartz card stock A2 card base and set it aside for later. Next, I embossed a slightly smaller white card stock panel with another one of my favorites, the Leafy 3D embossing folder by Spellbinders, and added it to the top of the card base.
For the pink-striped panel, I used a piece of patterned paper but you could easily create your own with a striped stencil. This is also where you can change the color to be anything you fancy!
Before cutting the panel out with one of the dies in the Semi-Circle Stackers by Penny Black, I first glued a white cardstock panel to the back of the panel. This gave it a little more strength and heft, then I cut it out and added it to the top of my card front.
Next, I cut three YOU’s from white card stock, then stacked and glued them together.
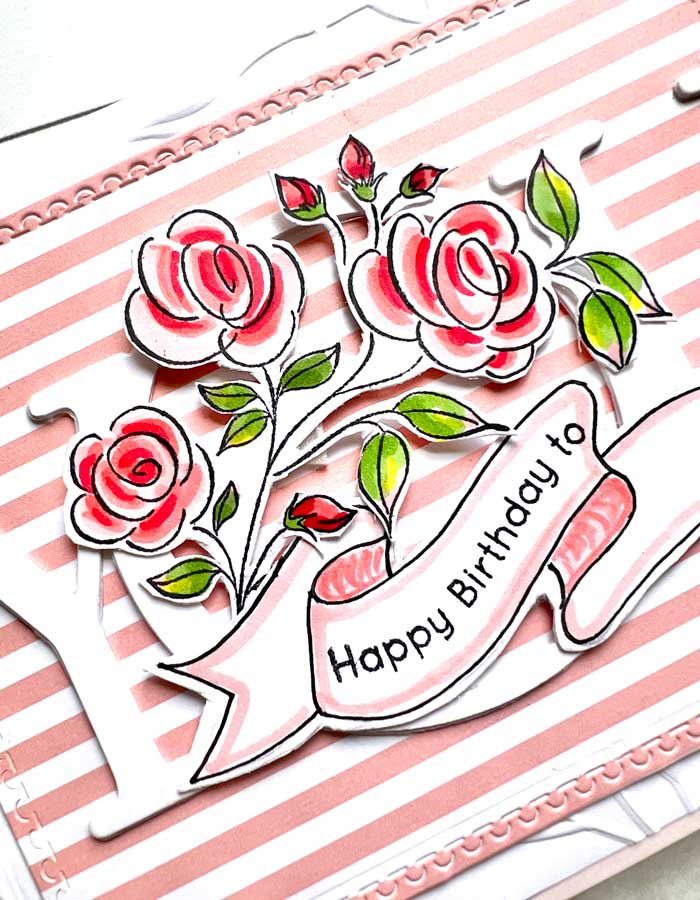
The next step was to stamp the lovely floral stamp from the Flower Medley stamp set, again by Penny Black. I used Memento Tuxedo Black ink, then colored the flowers with a few Copic markers (R20, R32, R46, YG03, YG17, Y08)
With the flowers colored, they were fussy cutout and foam squares added to the back, then set aside while I made the banner.
To make the banner, I first hand drew it on copy paper, making sure I had the dimensions and proportions needed. Normally, I would trace it onto my cardstock but the paper was too thick. I couldn’t see through it so I cut it out, leaving a tiny border around the banner, then traced the banner onto the cardstock I wanted and drew in the outline with a Pigma Micron pen.
But, to make it easy, I made a PDF for you to use if you like. You can just click the link at the end of this post and print the banner onto the paper you like, then cut it out, leaving a tiny border.
Once the border was done, I used a ‘Happy Birthday to” stamp that I found in the All Things You stamp set by My Favorite Things. Using an acrylic block, I mounted the stamp, molding it into the shape of the curve of the banner. Then inked it with black ink and stamped it. To add a little accent, I used an R20 Copic marker to follow the shape of the banner
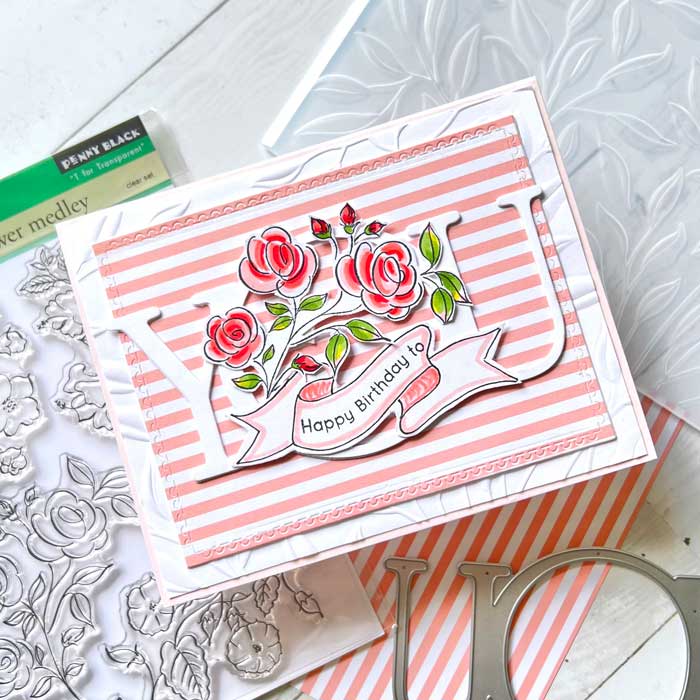
All that was left was to mount the “YOU”, then the flowers and banner on top… and VIOLA! the card was done! ♥
Click here for the banner art
Goodies Used: