Hello Everyone,
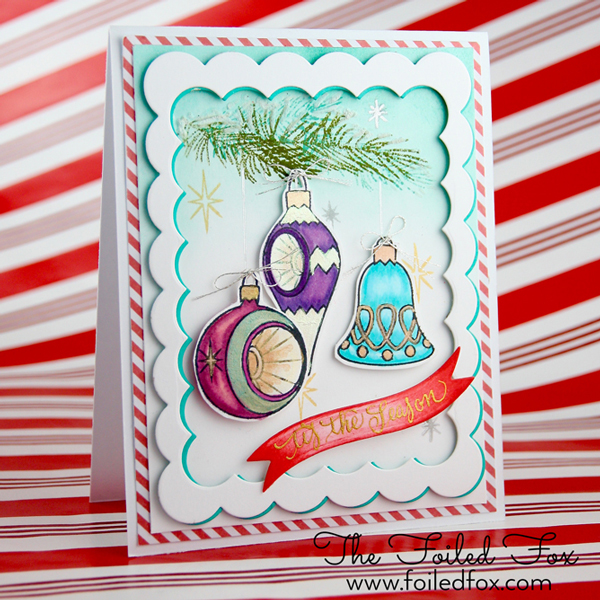
What better way to ring in December than a card with brightly colored ornaments…’tis the season, isn’t it?
This card was created using the Avery Elle Retro Ornament stamp and die set and the Scalloped Dies by Neat & Tangled. The ornaments in this set really struck a cord with me since I grew up with ornaments just like these! I tried to color them in the old time colors I remember. I’d tell you the decade…but then it would date me!
I like to stamp, color and cut out all the components first so I can place them here or there until I settle on a design. With all this in mind, I started by stamping with Memento Tuxedo Black the ornaments and colored them with two of my very favorite things, Copic markers and Finetec metallic paints. If you remember these kinds of ornaments or have some now, you know that the indented areas are usually metallic silver or gold. That’s where the Finetec metallic colors are so great!
By the way, don’t worry about hunting down the colors used. As always, they are all listed in the supply list, as well as a key for the colors used for each ornament below.
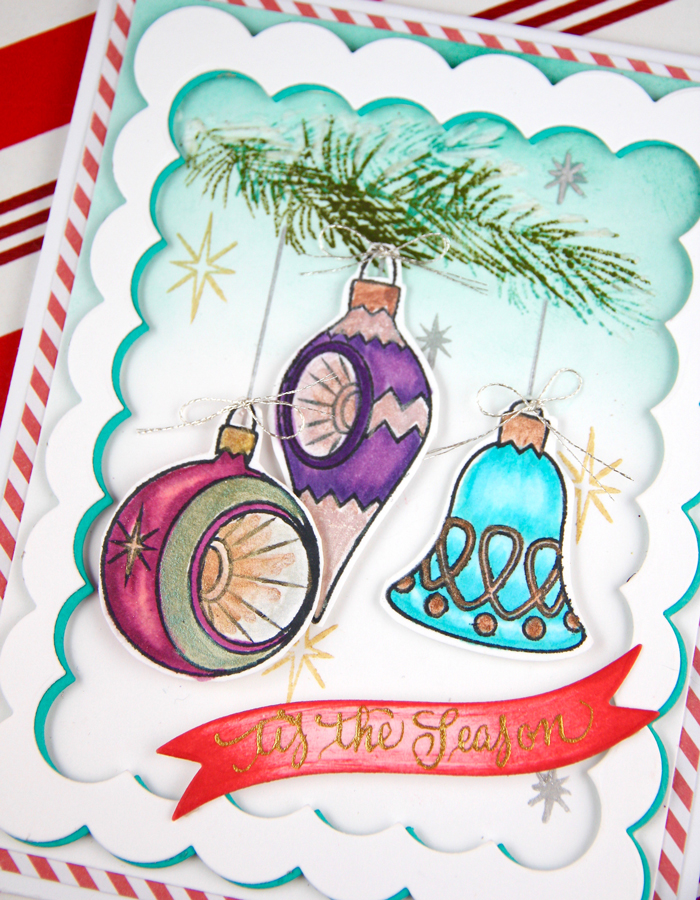
I have just loved the retro colors of turquoise and red used lately in so many wonderful cards on Instagram so I wanted to incorporate those colors here. Using the Scallop die set by Neat & Tangled, I cut one from white card stock and one from the Candy Necklace card stock. By the way, at the same time, from white card stock, I cut a banner from the dies included in the Scalloped die set.
Then, starting with a piece of white card stock and a blending tool, I very lightly started blending Forest Moss distress ink at the top and then added Peacock Feathers until it feathered out to very light color to the middle of the panel.
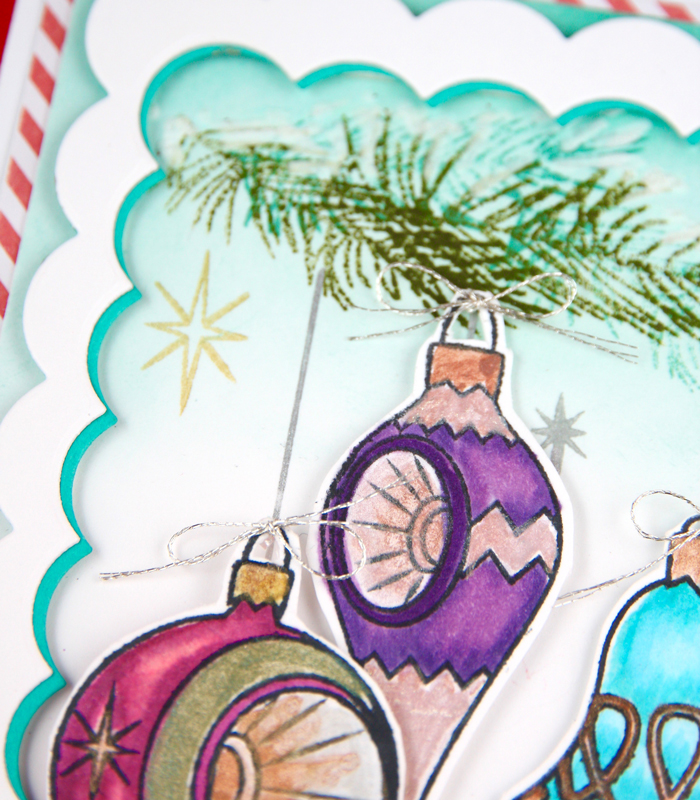
Next, the pine bough was stamped on this panel. The main bough was stamped in Forest Moss distress ink and a few smaller boughs were stamped in the Peacock Feathers ink. The final touch was to add ‘snow’ to the top of the boughs with the Snow Marker and heat set it so it puffed up.
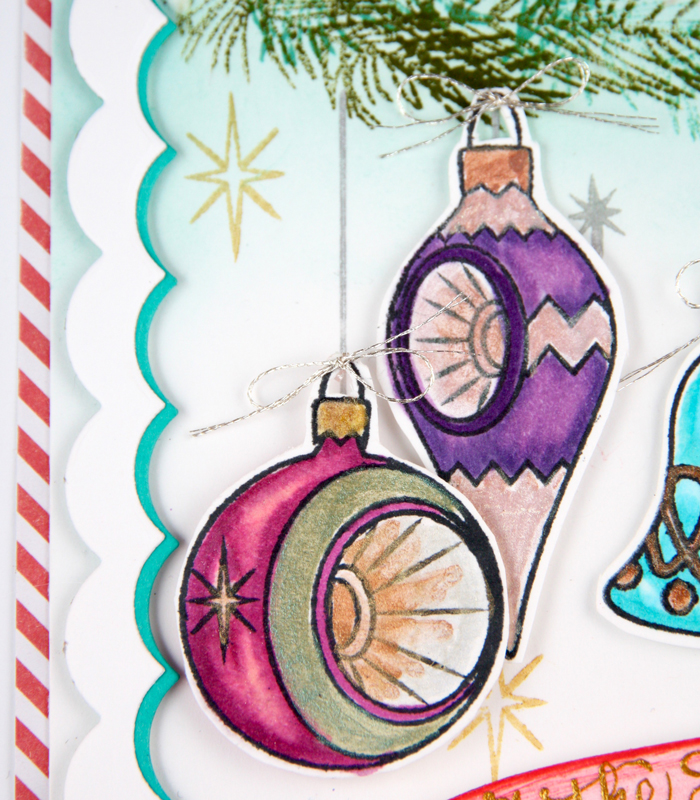
A few stars in gold and silver were added to the panel using the Delicata 4 metallic set. Then, after the ornaments were positioned (some on foam tape for dimension), a silver line was added to connect the ornament to the bough. The Uniball Silver Gel Pen made quick work of that. Finally, tiny silver bows were added to the top of each ornament.
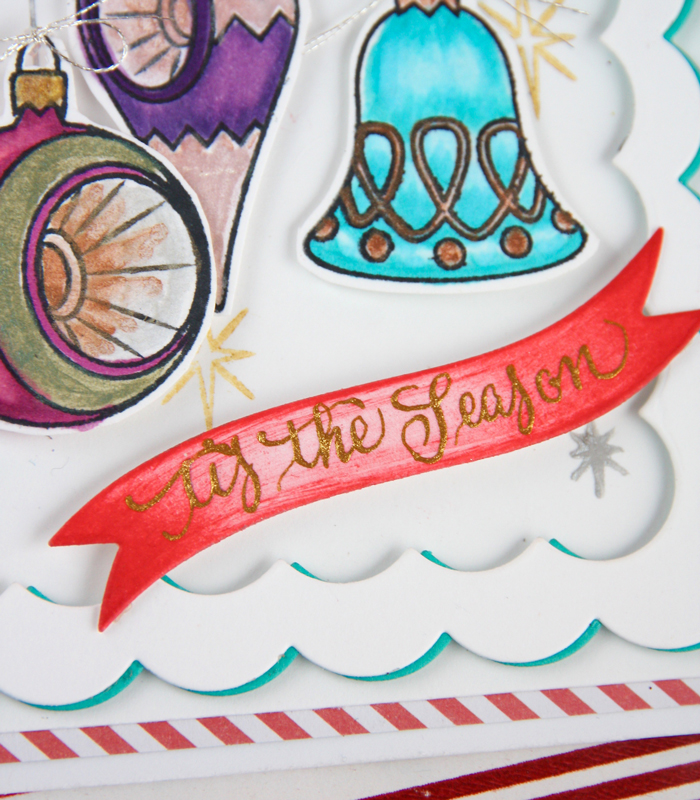
Next up, I added foam tape to the back of the turquoise scalloped frame, then added the white frame directly on top of the turquoise frame but slightly offset. The frames were then added to the panel with the ornaments. Then I colored the previously cut banner with the Festive Berries Distress Ink, added the sentiment and attached to the edges of the frame.
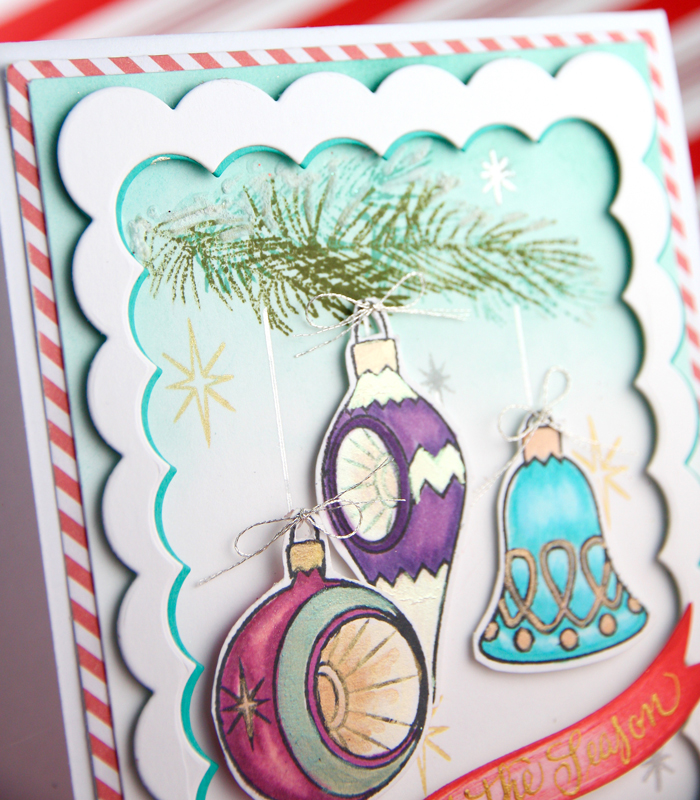
For assembly, I started with a white card base, added a red and white diagonally striped card stock layer and then the final layer with the frame and ornaments all attached.


Supply List:
 Retro Ornaments Stamp Set |
 Retro Ornaments Die Set |
 Tangled Scallop Die Set |
 Solar White card stock |
 Black Holiday Trimmings Paper Pak |
 Candy Necklace Card stock |
 Moss Distress Ink |
 Feathers Distress Ink |
 4 color Metallic Ink |
 Berries Distress Ink |
 PEARL WATER COLORS |
 Tool |
 Copic Marker |
 Copic Marker |
 Copic |
 Copic Marker |
 Copic Marker |
 Copic Marker |
 Copic Marker |
 Copic Marker |
 Copic Marker |
 Marker |
 Silver Gel Pen |
 Tape |
 Silver Metallic thread |
 Tape Gun |
 Black |


Wow, I just love the look of these retro ornaments and the fun, bright colors!